Showing posts with label Dips/Spreads/Dressings. Show all posts

Saturday, March 24, 2012

Lazy Day Afternoon

Now that it finally feels like Spring, rather than mid-june due to the heat wave we had this past week, I have no motivation to go outside today. It's gloomy, a bit chilly, oh and saturday. I think it's actually illegal to do anything productive on saturday. I did end up making some Pumpkin Butter though, which is totally okay to do since it's chilly, despite the fact it is officially Spring!

I also whipped up this dressing that I adapted from my Vegetarian Times Cookbook. I have to admit it is rather tangy, so be prepared for it's pucker power! It's a nice alternative to italian dressing, if you usually use that. This one has ultimately no fat, and probably about 10 calories per tablespoon. if you look at regular italian dressing, those come in at about 50 calories per tablespoon and 5 grams of fat. This can add up depending on how much you typically add. I happen to enjoy a bit of a tang, or in this case a lot of tang, and this had a nice flavor from all the herbs. I bet it would be even better with some fresh herbs, but I just used what I had on hand.


Oil Free Italian Dressing
Adapted from Vegetarian Times Cookbook
makes about 3/4 cup


1/4 cup lemon juice
1/4 cup Apple juice
1/4 cup Cider vinegar
1/2 tsp oregano
1 tsp dijon mustard
1/2 tsp onion powder
1/2 tsp garlic powder
1/2 tsp paprika
1/8 tsp thyme
1/8 tsp rosemary
pinch of sugar ( I added to reduce the pucker power a bit)
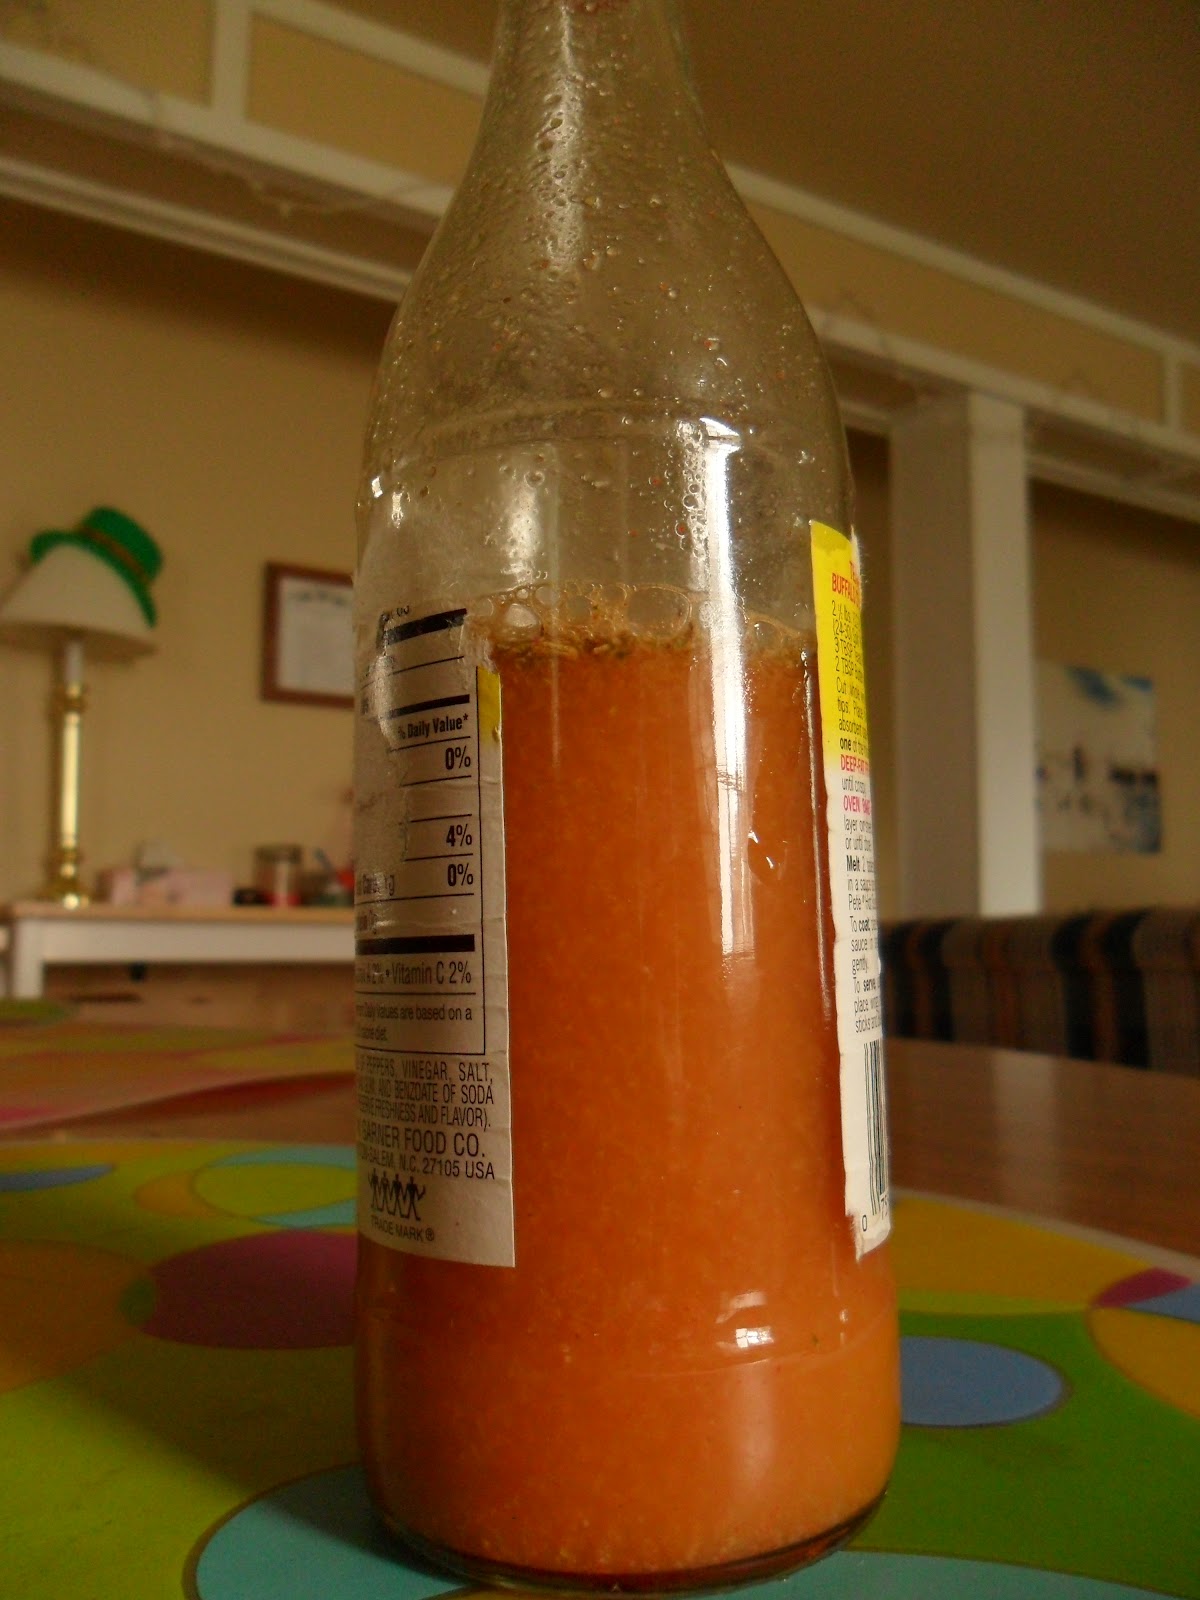
The all-mighty recycled bottle o'dressing.


Simply add everything to a blender, and mix! Done. I reused a hot sauce bottle to house my dressing, and just used a funnel to add it in and avoid wearing the contents! Sorry the picture isn't too pretty, but this recipe didn't involve much, so I didn't think it needed a picture tutorial. Enjoy the rest of the weekend, and a very unproductive Saturday!


What's your favorite type of dressing?

Monday, January 2, 2012

Another Year. Another Meal.

So this is the new year. A time for failed resolutions and gym membership profits. Okay, enough humble pie since I myself failed to maintain my posts as I wanted to. It has was quite the busy year, with little time to make a meal, forget about blogging about it. This winter break, although cut short due to work has left the opportunity to kick start the blogging again for this year.

This recipe is quick and simple, but full of flavor. Not eating any red meat or chicken leaves the opportunity to get creative with my meals. I do eat fish, which is often referred to as a "pescatarian" if you were curious, which leads to this post for Baked Haddock with a simply delicious herbed yogurt dressing. This recipe serves two, but feel free to adjust to how many you wish to serve.


Baked Haddock with Herbed Yogurt Dressing
Serves 2


2 - 4 oz Haddock filets (or any other white fish)
2 T skim milk
3 T Whole Wheat seasoned breadcrumbs (regular would work, or also panko)


Dressing:
2 T plain, nonfat yogurt
1.5 tsp red wine vinegar
1 clove garlic, finely minced
1 tsp dijon mustard 
1/2 tsp herbes de provence
pinch of salt and pepper


Start by spraying a glass baking dish or baking pan with non-stick spray, and preheating the oven to 400 degrees.

Next, you'll want to set up your dredging station. Pour milk into a shallow dish big enough to fit your haddock filets into. Next, pour breadcrumbs onto a large plate.

 Dip both sides of the fish into the milk.


 Then coat both sides in the breadcrumbs. 


Transfer to your baking dish, and bake the fish for about 15-20 minutes, or until it flakes with a fork.


While the fish is baking, you can make the dressing. I didn't put up any pictures of the process since all you do is combine everything in a small bowl.If you don't have or can't find herbes de provence, you can simply replace it with a new herb mixture. I would try a pinch of dried basil, thyme, and tarragon. Tarragon isn't a typical ingredient in herbes de provence, but I think it would be rather tasty. I used a large clove of garlic in mine, since I'm a fan of garlic, but if your not, adjust to your liking. I did take the extra time to transfer it to a cute serving dish to take it's picture. You're welcome!

The finished dressing! So creamy and flavorful. Did I mention easy? Winning combo!

Once the fish is done, transfer to your plate and pour half the dressing over each filet. I served mine on a bed of steamed green beans with a baked sweet potato on the side. B-e-a-utiful! I could have used a bit more crunch on the fish, so I may try panko the next time I make it. I made this dressing using ingredients I had, which is what I think you should always do! It's much more simple and fun when you experiment with what you have available. 


Enjoy this dish and Happy New Year!

Tuesday, June 21, 2011

Five Ingredient Flavor.


Not the flashiest picture, but it is the final product! I guess I was inspired from watching Food Network's Five Ingredient Fix this evening to whip up this oh so simple vinaigrette. Making your own salad dressings, especially vinaigrettes, (I don't think I can ever spell that right!) are cheap, simple, and of course delicious. They are also not full of preservatives or countless other ingredients that you can't pronounce or have the slightest idea of their purpose. It also leaves room for your creativity to show. Don't be afraid to think outside the bottle! (Oh, I'm hilarious!)

So, here is my recipe for a simple Cider Dijon Vinaigrette. Only five ingredients, not counting water since I consider it to be a "freebie" ingredient. Also, I didn't really measure when I made it, so these are approximations. It's really best to adjust to your own tastes, and experiment with different amounts and ingredients.

Cider Dijon Vinaigrette
Ingredients:
3 Tablespoons Apple Cider Vinegar
2 Tablespoons Dijon Mustard
2 Tablespoons Canola Oil
Dash of Kosher salt
Dash of Black Pepper
1/2 cup of water

Equipment:
Bowl
Whisk
Container for Storage


So not only are the ingredients simple, but so is the process. Simply add all the ingredients to the bowl and whisk until combined.

That's it! Now just transfer to a container with a lid, and store in fridge to enjoy. I reused a hot sauce bottle for my dressing. I liked how it had a small spout, so that the dressing doesn't drown my salad. You could even reuse a store-bought dressing bottle, and no one will ever know you made it! But I'm sure you will want everyone to know that you were the brilliance behind it. I added water to the recipe to extend how much it made, and also to lower the fat content. I think it still has the same amount of flavor as if water wasn't added, but makes it cheaper and more of it, which is a win-win for me.


What's your favorite type of dressing?

Tuesday, May 17, 2011

My Big Fat Can of Chickpeas.

So I'm off to a good start with 2 posts in less than a week! I foresee more in the future as the fresh produce becomes more readily available. I'm anxiously waiting to start my garden, but the recent bounty of rain has kept me from stepping foot outside, let alone planting any seeds. Anyway, this post is not really a redesigned recipe, but rather my play on one of my favorite condiment/dip/spread, whatever you call Hommus/Hummus (Not really sure on the "official" spelling, but seen both ways). Although it is not of Greek origin, I feel a lot of people associate Hummus with Greek food, hence the title. I thought it was clever and appropriate, due to the rather large can of chickpeas used in the recipe. I love to get the 3 layer Hummus from Trader Joe's, which includes roasted red pepper, original, and cilantro hummus. My unexpected favorite is the cilantro layer, which has inspired this post, and also the fact that cilantro was on sale at the supermarket! So if you enjoy hummus, but often find it over priced, or just want to give making your own a try, I recommend it. I didn't follow any recipe, and it was one of the easiest things I have made. Here are some estimated ingredient amounts (I didn't really measure, and adding more as I went), but the process is all the same.

Cilantro Hummus:
1 Bunch fresh cilantro, roughly chopped
3 cloves garlic, roughly chopped
1 large (30 oz) canned chickpeas, rinsed and drained
zest and juice of half a lemon
1 Tablespoon canola oil
Salt & Pepper, to taste
Onion Powder, to taste
Water

First off, you will need a food processor for this, but I would think a blender would work as well.


Then you will need to drain and rinse the can of chickpeas under cold water for a good 30 seconds. Add them to the bowl of your food processor.
Next, I chopped the garlic and cilantro, and added them to the food processor. 3 cloves may seem like a lot of garlic, but for the amount of chickpeas used, it is not the least bit overpowering. I would have actually used more, but refrained for the enjoyment of others consuming the hummus.

Then I zested the lemon, and added that as well as the juice to the mixture. Now I would suggest using a whole lemon, since I couldn't really taste it, but half a lemon was all I had on hand.

Next, I added the oil to the water in a measuring cup. I left out how much water I used for two reasons: 1.) I didn't really measure it when I made mine, so I'm not even sure how much I would suggest, but for recipe sake I would say about 1/4 to 1/3 cup. 2.) It depends on the consistency you like your hummus. I like mine a bit on the "chunkier"side, for lack of a better word, but if you like yours a bit smoother, or thinner, feel free to add more water and oil. Another tip I've heard of for making Hummus really smooth like the store bought is to remove the skins from the chickpeas. Seeing as I had a large amount of chickpeas, and a lack of motivation to sit and peel them all, I skipped that step. If it seems necessary for your enjoyment, be my guest, and remove the skins.

Now, while your food processor is running, stream the water and oil mixture in through the feed tube, until everything starts to come together. I had to stop and scrape down the sides of my bowl, and check the consistency a few times. During these times I also added in salt, pepper, and onion powder, but again I didn't measure so use your own taste and judgement.
When it comes to the consistency and flavor you like Voila! You have made your own Hummus! Just transfer to a storage container, and enjoy. Not sure on the shelf life for it, but I feel it would last a week in the fridge, but have also heard you can freeze it for up to 2 months. Since I eat a lot of it, I made a big batch, but feel free to cut the recipe in half if you don't think you'd eat that much.


Now this recipe makes plenty of Hummus to share, or in my home, plenty for the week. If you're new to the Hummus scene it can be used for many different things. Some of the common ways are:

- Spread on Sandwiches
- Dip for Veggies, Pita Bread/Pita Chips,Crackers, Pretzels, and Popcorn! (if you saw my last post, you would already know that!)
- Filling for an Omelet (Good alternative to loads of cheese!)

Hummus can be a healthy alternative to mayo, cheese, and not so healthy dips, such as french onion and ranch. While it is not for everyone, I urge you to give it a try, and like always explore new flavors!

I'm not sure of the nutrition info for this, but I know 1 Tablespoon of commercial Hummus is 25 calories and 1 gram of fat, and since I did not use a lot of oil or any Tahini, this recipe would be even less. Regardless, it is delicious!